Setup API Key
- Create an account with PandaDoc
- Log into your account at https://app.pandadoc.com
- Get your Sandbox and/or Production Key
- Navigate to the gear icon on the lower left > Developer dashboard > Configuration and then the “Sandbox key” You will be providing that to the LMS administrator.
It is recommended that for the initial setup and test that it is started with the Sandbox Key to make sure everything is correct, then when ready to go-live, obtain and provide the LMS administrator with your production key.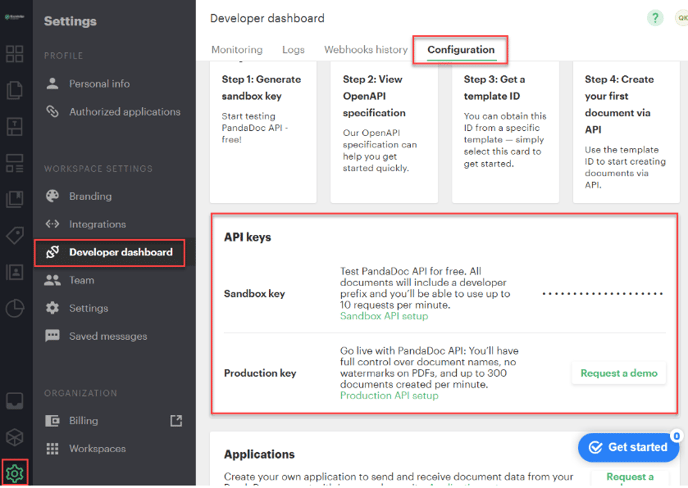
Setup Document Folder
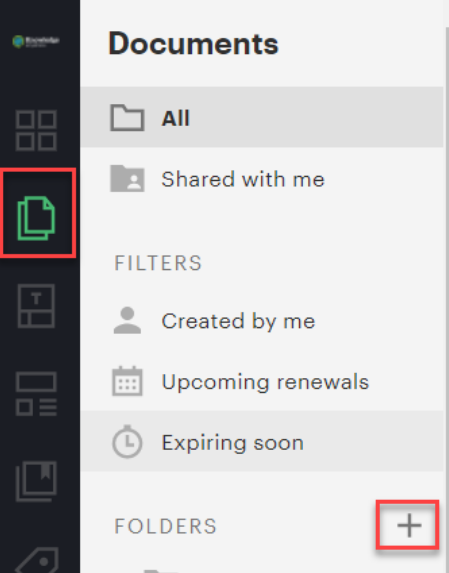
- Set up your Document Folder by navigating to the Documents > Folders > + (add folder)
- Enter in a Folder name. The naming convention can be what is memorable for your use. We recommend LMS-Digital Signatures.

- When created, you should see the folder in the list of folders.
Click on the folder name.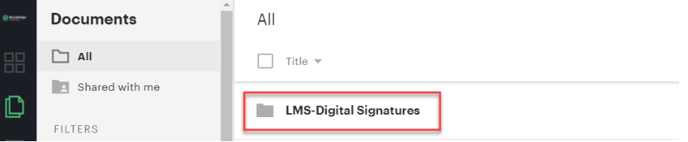
This is where the LMS will deposit signed documents.
Take the url in your browser and either send us the entire url or specifically the value of the folderid.
https://app.pandadoc.com/a/#/documents-next?sortBy=date_modified&direction=desc&displayMode=folders_first&customDate=date_modified&mainFilter=all&folderId=fjCJkbwNLW5JjL4nKomG4h
Setup Signing Template
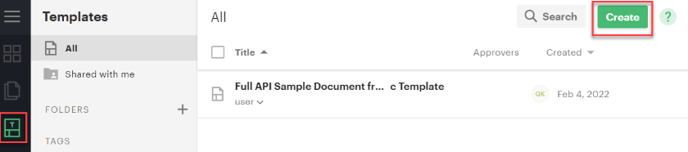
- Click on the Templates Icon menu item, then click the [Create] button
- Select the Blank Template [+]
- Update the template name, we’ve used a default for LMS Signature Template (there is an ID that will be used so it can be what is convenient)
- In the Browser’s URL, please provide the LMS Administrator the template id.
In this example it is vFC4vS7D3kd4RiGHrBRYzS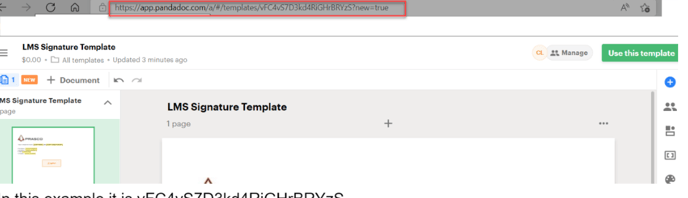
- On the right hand side click the (+) icon and drag an image block and text block into the template.
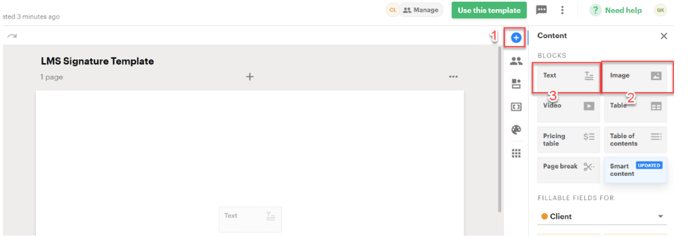
- You can click on the upload and image and upload your company logo.
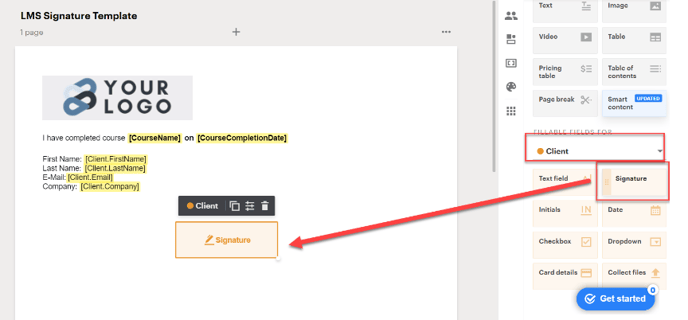
In the text block, you can paste in this text:
I have completed course [CourseName] on [CourseCompletionDate]
First Name: [Client.FirstName]
Last Name: [Client.LastName]
E-Mail:[Client.Email]
Company: [Client.Company]
- The default client fields provided by PandaDoc can be connected to the document and will be filled in if they are available for the user in the LMS. The LMS adds the custom [CourseName] and [CourseCompletionDate] fields to be able to be placed into the document where needed.
- If you want to bold or format any text you can adjust it with the formatting bar.
Note: The fields that say [Client.FirstName] should be highlighted similar to the screenshot. In this item we’ve uploaded a logo and bolded the CourseName and Completion Date. The completion date will be filled in with UTC time (to be consistent against any time-zone questions)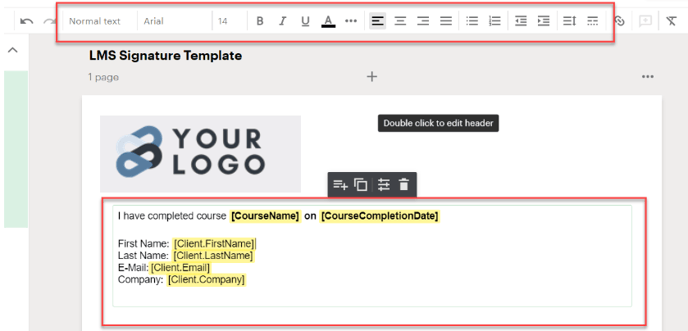
- Now drag in the signature field into the document. It is in the Fillable Fields for [Client]
- You can navigate away from this page (it should auto-save)
- Any changes to the template will only be reflected on NEW signature documents
- Send the LMS Administrator the API ID, Folder ID and Template ID’s to be placed into the LMS.